Aug . 14, 2024 11:01 Back to list
Steps to Effectively Rebuild a Hydraulic Cylinder for Optimal Performance and Longevity
Rebuilding a Hydraulic Cylinder A Step-by-Step Guide
Hydraulic cylinders play a crucial role in various industrial applications, providing the necessary force for lifting, pushing, and pulling heavy loads. Over time and with consistent use, these cylinders can wear out or develop leaks, leading to decreased performance and efficiency. Rebuilding a hydraulic cylinder can restore its functionality and save costs compared to purchasing a new one. This article provides a step-by-step guide to effectively rebuild a hydraulic cylinder.
Step 1 Safety First
Before starting the rebuild, ensure you take appropriate safety measures. Wear safety goggles, gloves, and other personal protective equipment. Make sure the hydraulic system is depressurized and isolated from energy sources to avoid accidents.
Step 2 Disassembly
Begin the disassembly process by removing the hydraulic cylinder from its application. Use appropriate tools to detach the cylinder from its mounting brackets or housing. Once removed, carefully inspect the cylinder for any visible damage.
Next, start disassembling the cylinder. This typically involves removing the end caps or gland nuts. Depending on the design, you might need a specialized tool to extract internal components. As you disassemble, take note of how each part fits together, or take pictures for reference during reassembly.
Step 3 Inspection
After disassembly, thoroughly inspect all components of the hydraulic cylinder, including the barrel, piston, seals, and rods. Look for signs of wear, corrosion, or damage. Any components that are excessively worn or damaged should be replaced.
Pay particular attention to the seals, as they are often the source of leaks. A worn seal can lead to hydraulic fluid escaping, reducing efficiency and causing operational issues. Ensure that the cylinder barrel is free from scratches and dents, as these can also affect performance.
Step 4 Cleaning
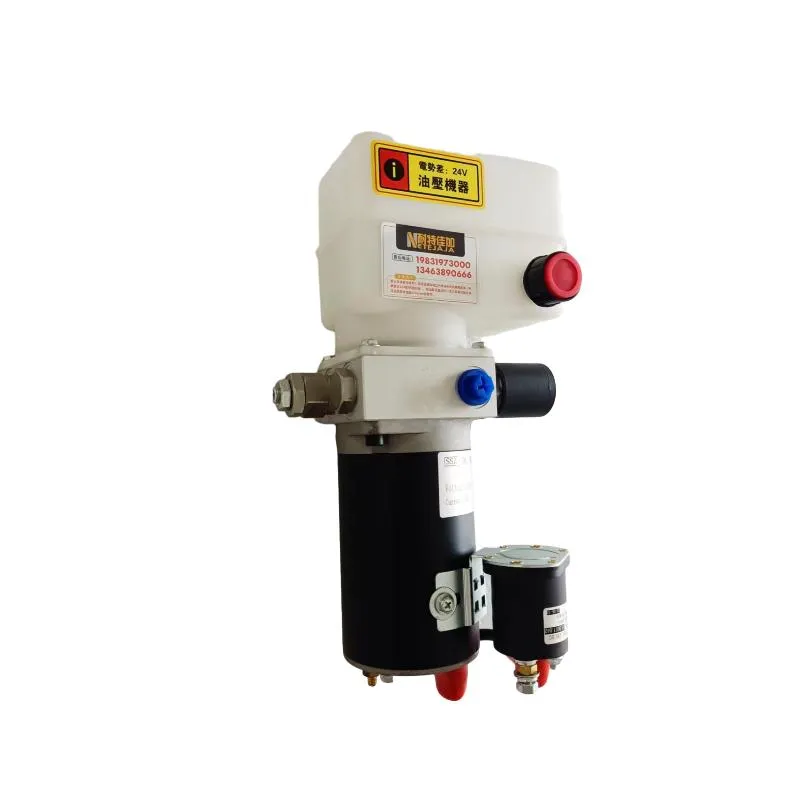
rebuild a hydraulic cylinder product

Once you've inspected the components, it's crucial to clean them thoroughly. Remove any old hydraulic fluid, dirt, or debris. Use a solvent suitable for hydraulic parts, and allow them to dry completely. Cleaning the components not only ensures better assembly but also helps in identifying any hidden damages that need attention.
Step 5 Replacing Seals and Components
Rebuilding a hydraulic cylinder often involves replacing old seals and possibly other components. When selecting replacement seals, ensure they are compatible with the cylinder’s specifications and the hydraulic fluid used in your system. Apply a thin layer of hydraulic oil to the seals before installation to ease the process and prolong their lifespan.
If any other parts, such as the piston or the rod, showed signs of wear, replace them at this stage. It's wise to consult the manufacturer’s specifications for the exact parts needed.
Step 6 Reassembly
With all components cleaned, inspected, and replaced as necessary, it's time to reassemble the hydraulic cylinder. Follow the order of disassembly, making sure to align all components correctly. Tighten screws and bolts to the manufacturer’s specified torque settings to prevent any issues during operation.
Step 7 Testing
After reassembly, it's essential to test the hydraulic cylinder before putting it back into operation. Reconnect the cylinder to the hydraulic system and fill it with the appropriate hydraulic fluid. Conduct a functional test to ensure that the cylinder operates smoothly without leaks.
Conclusion
Rebuilding a hydraulic cylinder can be a rewarding and cost-effective endeavor. By following these steps—ensuring safety, proper inspection, cleaning, and replacing worn parts—you can extend the lifespan of the hydraulic cylinder and maintain the efficiency of your machinery. Regular maintenance and timely rebuilds will not only save costs but also enhance safety and performance in hydraulic systems.
-
1.5 Ton Flipping Oil Cylinder 70/82-40-217-720-Hebei Shenghan Hydraulic Machinery|Precision Hydraulic Cylinder,Custom Hydraulic Solutions
NewsAug.29,2025
-
1.5 Ton Flipping Oil Cylinder 70/82-40-217-720 | Hebei Shenghan Hydraulic Machinery Co., Ltd.
NewsAug.29,2025
-
High-Precision [90/105-50-180-480] Industrial Component | Durable & Reliable
NewsAug.27,2025
-
High-Performance Set of 50/60-45-290 471 | Durable & Reliable Components
NewsAug.26,2025
-
Efficient Pallet Truck Power Units - Reliable Hydraulic Systems
NewsAug.25,2025
-
Premium Set of 50/60-45-290 471 Parts | High Performance
NewsAug.24,2025
