Dec . 01, 2024 03:00 Back to list
Steps for Safely Removing a Hydraulic Cylinder from Your Equipment
The Process of Removing a Hydraulic Cylinder A Comprehensive Guide
Hydraulic cylinders play a vital role in numerous mechanical systems, providing the force necessary for movement and operation. However, there may be times when it becomes necessary to remove a hydraulic cylinder for repairs, replacements, or upgrades. This article will guide you through the process of removing a hydraulic cylinder safely and efficiently.
Understanding the Hydraulic Cylinder
Before diving into the removal process, it’s essential to understand the basic function of a hydraulic cylinder. These devices convert hydraulic energy into mechanical energy through the movement of a piston within a cylinder. They can be found in various applications, including construction equipment, industrial machinery, and automotive systems. Despite their robust construction, hydraulic cylinders can wear out over time or become damaged due to various factors, necessitating their removal.
Safety Precautions
Safety should always be your top priority when working with hydraulic systems. Here are several critical safety precautions to consider
1. Release Pressure Before starting, ensure that the hydraulic system is depressurized. This is crucial to prevent any sudden movement of the cylinder or unexpected release of fluid.
2. Personal Protective Equipment (PPE) Wear appropriate PPE, including gloves, safety goggles, and steel-toed boots, to protect yourself from potential hazards.
3. Proper Tools Gather all necessary tools before beginning the process. This may include wrenches, pliers, a hydraulic jack, and a spill tray for fluid containment.
Step-by-Step Removal Process
1. Prepare the Workspace Ensure that the area around the hydraulic cylinder is clean and free of obstructions. This will give you ample room to work and avoid accidents.
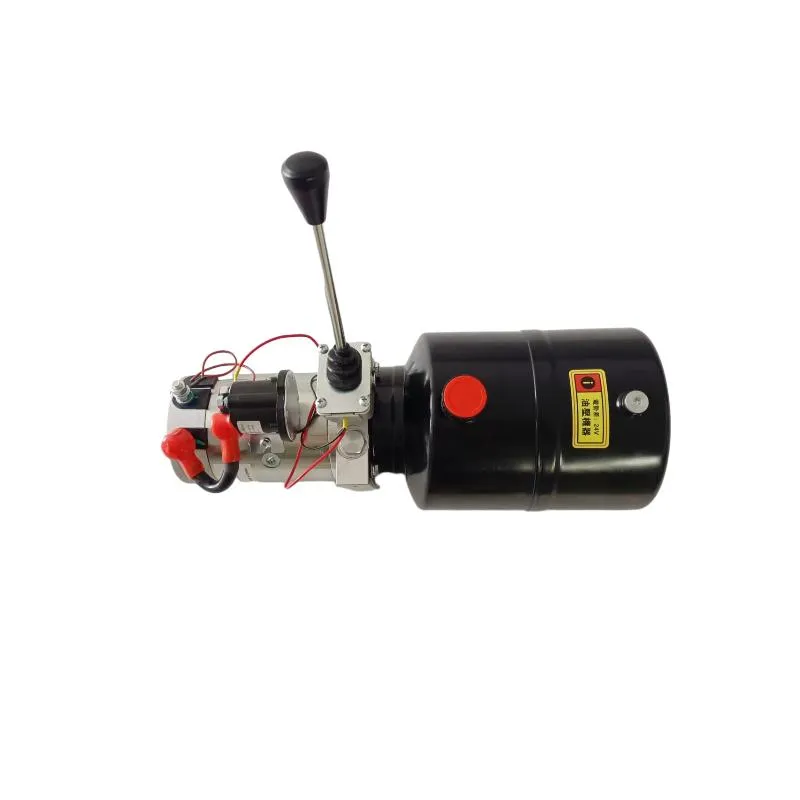
removing hydraulic cylinder product

2. Disconnect the Hydraulic Lines Using the appropriate wrench, carefully disconnect the hydraulic lines connected to the cylinder. Be prepared for hydraulic fluid to spill, so have a spill tray or bucket ready to catch any fluid.
3. Remove Mounting Hardware Next, locate and remove any bolts or pins securing the cylinder to the frame or machinery. It may be necessary to support the cylinder with a hydraulic jack to prevent it from falling once it is disconnected.
4. Support the Cylinder If the cylinder is part of a larger assembly, use the hydraulic jack or suitable supports to hold it in place. This will prevent it from swinging or dropping unexpectedly.
5. Disconnect from the Mechanism Depending on the application, you may need to remove the cylinder from a linkage or other mechanical components. Carefully detach it from these connections, taking care to note how components are arranged in case reassembly is required later.
6. Remove the Cylinder Once all connections are detached, carefully slide the hydraulic cylinder out of its mounting. It’s often helpful to have a second person to assist with this step, particularly if the cylinder is large or heavy.
7. Inspect and Clean With the cylinder removed, inspect it for any signs of wear or damage. Clean the area from which it was removed, ensuring there are no lingering contaminants or debris that could affect the new installation or repair.
After Removal
After successfully removing the hydraulic cylinder, you have the opportunity to either repair or replace it. If opting for repairs, ensure that you have the correct replacement parts and seals, as this will prolong the cylinder's life and improve the system's overall performance.
Conclusion
Removing a hydraulic cylinder may seem daunting, but with the right tools, safety precautions, and a clear understanding of the process, you can accomplish it effectively. Always prioritize safety, take your time, and clearly document each step for future reference. Whether you’re a seasoned mechanic or a DIY enthusiast, mastering the removal of hydraulic cylinders will enhance your skill set and prepare you for various mechanical challenges in the future.
-
Fork Lift Power Units - Hebei Shenghan | Efficiency, Reliability
NewsJul.13,2025
-
1.5-Ton Turbocharged Cylinder-Hebei Shenghan|Hydraulic Solution,Energy Efficiency
NewsJul.13,2025
-
Auto Hoist Power Units-Hebei Shenghan|Efficiency&Industrial Lifting
NewsJul.13,2025
-
Double Acting Power Units-Hebei Shenghan|Hydraulic Solutions,Industrial Efficiency
NewsJul.13,2025
-
1.5 Ton Lifting Cylinder 70/82-40-290-535 - High-Performance Hydraulic Solution | Hebei Shenghan
NewsJul.13,2025
-
Fork Lift Power Units - Hebei Shenghan | Efficiency&Reliability
NewsJul.13,2025
